Würth Baer Supply Company

Rev-A-Shelf Wood Pilaster System
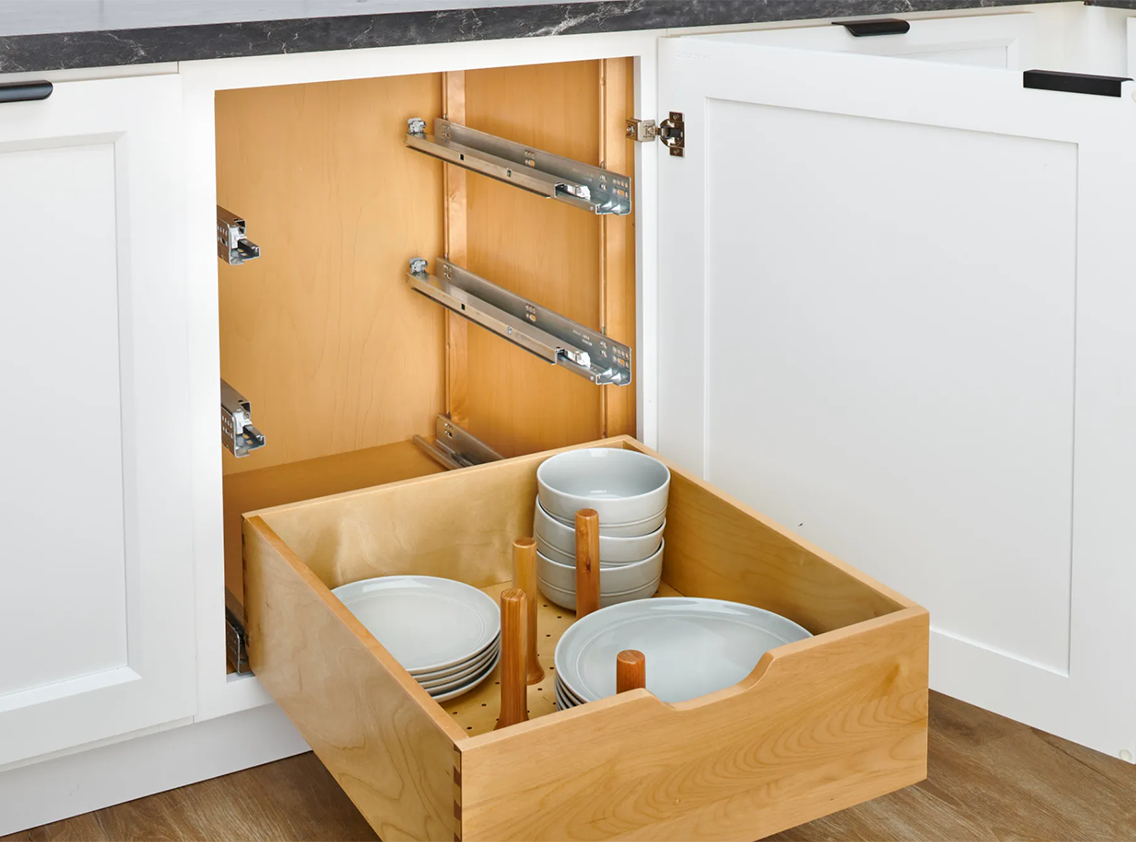
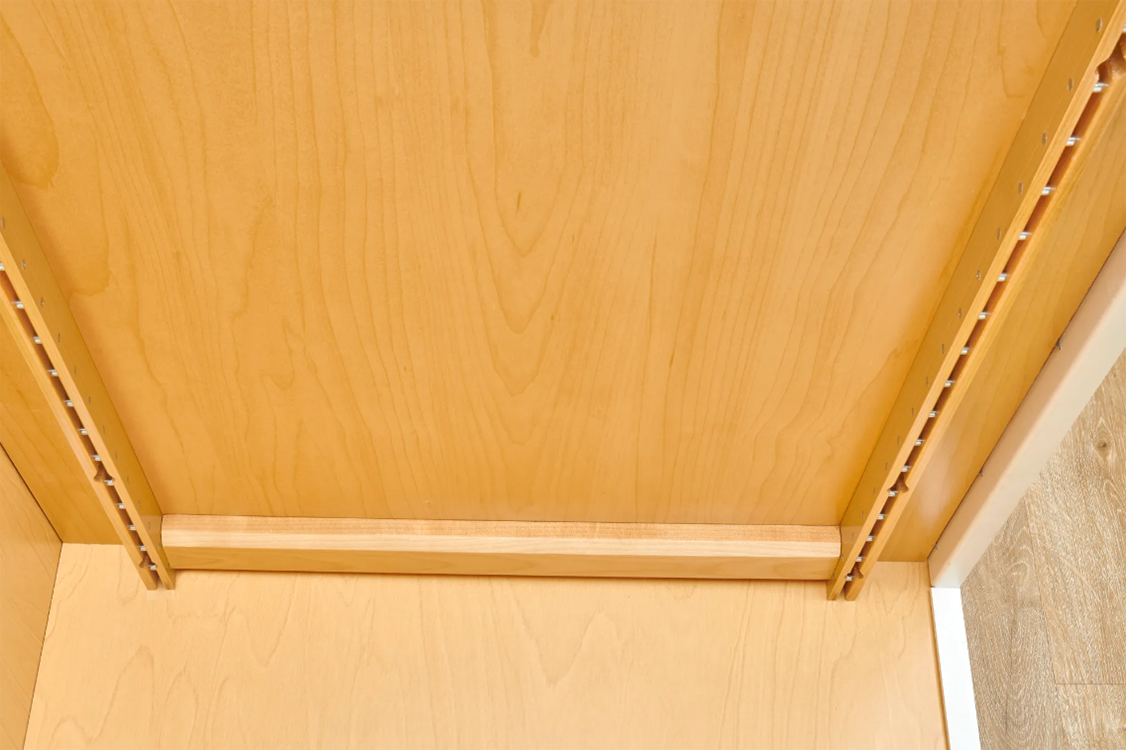
Easily add drawer pullouts to your base or tall cabinets.The Rev-A-Shelf fully redesigned 4PIL Wood Pilaster System is available in three versions of width / thickness and three heights for 2-drawer, 3-drawer, or 5-drawer installations.
This system is customizable to virtually any cabinet and features easy installation and a finished look. Stack pilasters to add drawers to tall pantry cabinets.
With this bracket and pilaster system, it's easy to reconfigure the pullout drawers in your cabinets as needed.
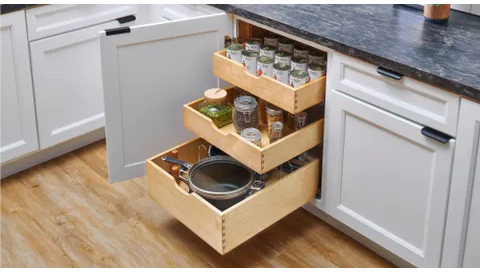
- Available in (3) rail heights: 19-5/8” (2-Drawer), 27-3/16” (3-Drawer) and
54-13/32” (5-Drawer)
- Available in (3) rail widths/thicknesses to accommodate different faceframe sizes: 7/8", 1-1/8", 2-3/8"
- Easily adjust drawer boxes with no tools required.
- Pilaster system holes are hidden.
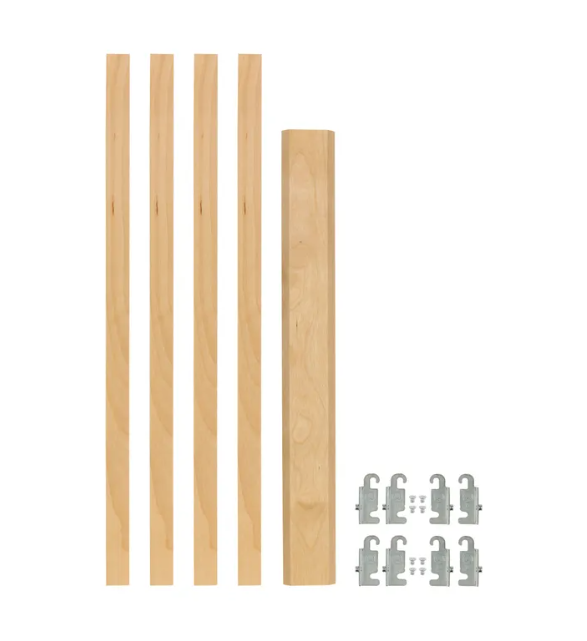
- Each set includes (4) brackets per drawer box, 4-8 pilasters, and installation template.
- Easy installation using the provided template.
- Sold is Sets or Boxes of 10 Sets
Installation
Installation is easy using the provided template.
(High level steps shown below for illustration purposes only. Refer to the Rev-A-Shelf installation instructions for all installation steps.)
Step 1 – Position the template block against the front inside of the cabinet and screw the pilaster in behind it as shown.
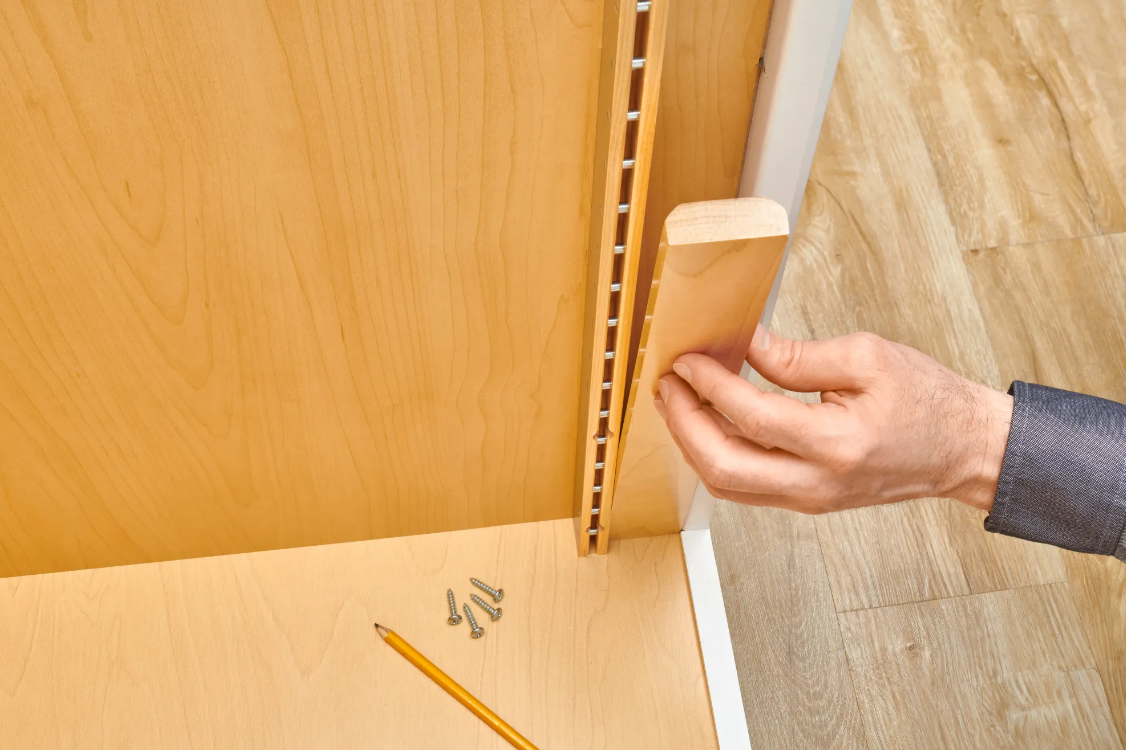
Step 2 – Position the template block against the back of the cabinet and screw the second pilaster in as shown below. Repeat on the opposite side.
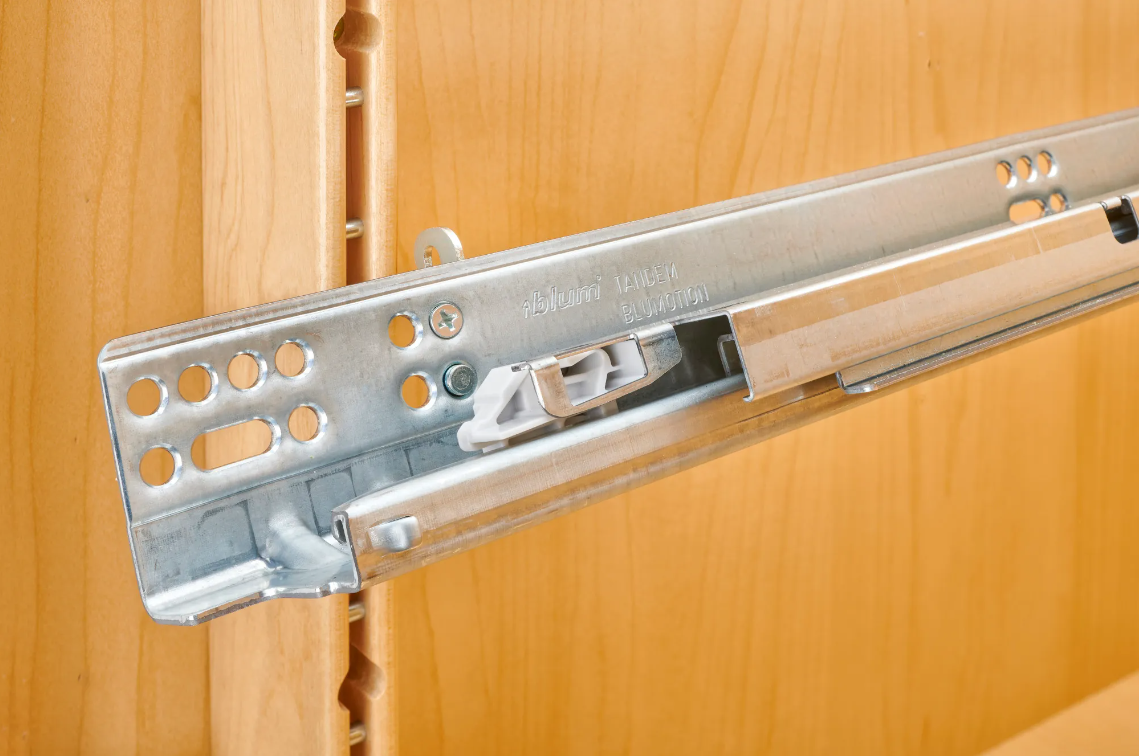
Step 3 – Screws the brackets front and back to the drawer slides at the specified position according to the installation instructions.
Step 4 – Check placement of the brackets on the slides and onto the pilasters.
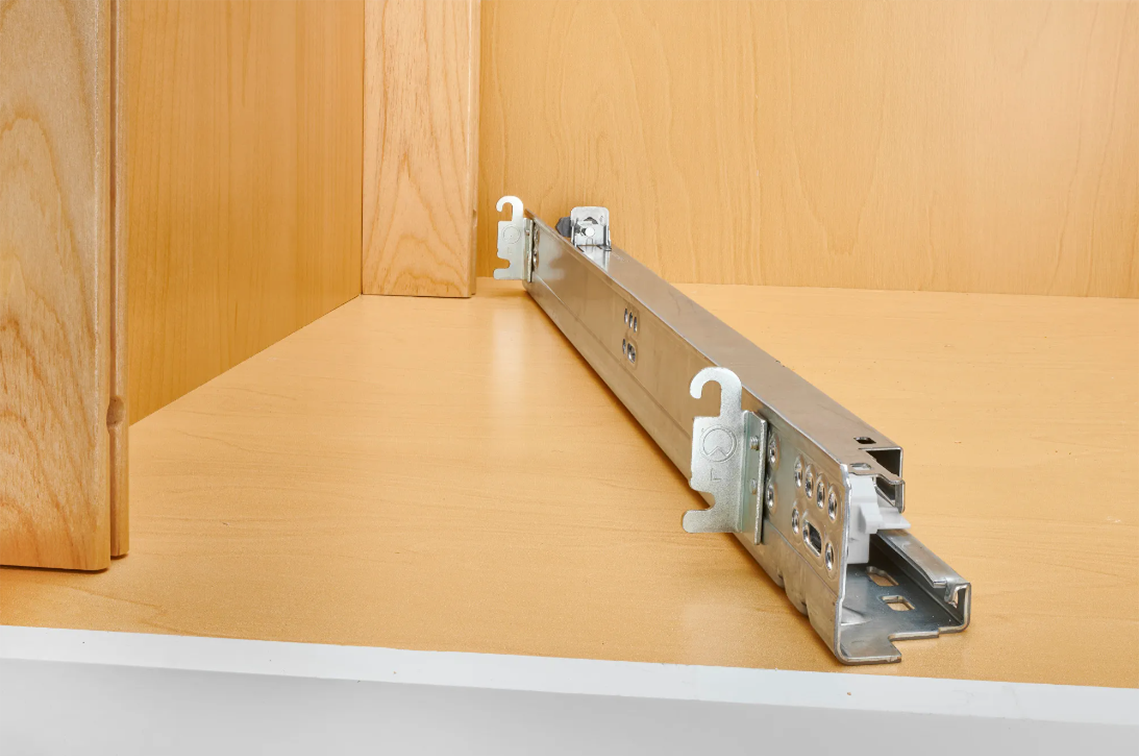
Step 5 – Hang the slides on the pilasters. Slides may be easily repositioned higher or lower to accommodate different drawer box configurations.
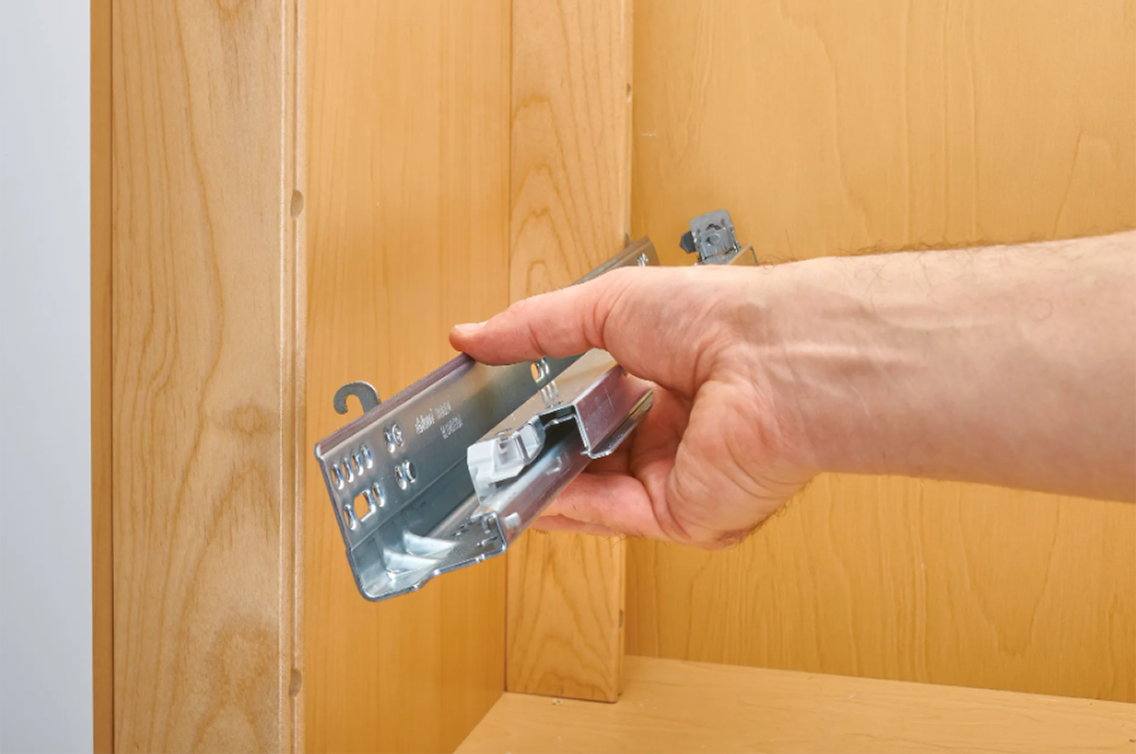
Step 6 – Check positioning of the slides inside the cabinets. Make sure slides clear the hinges and edges of frame.
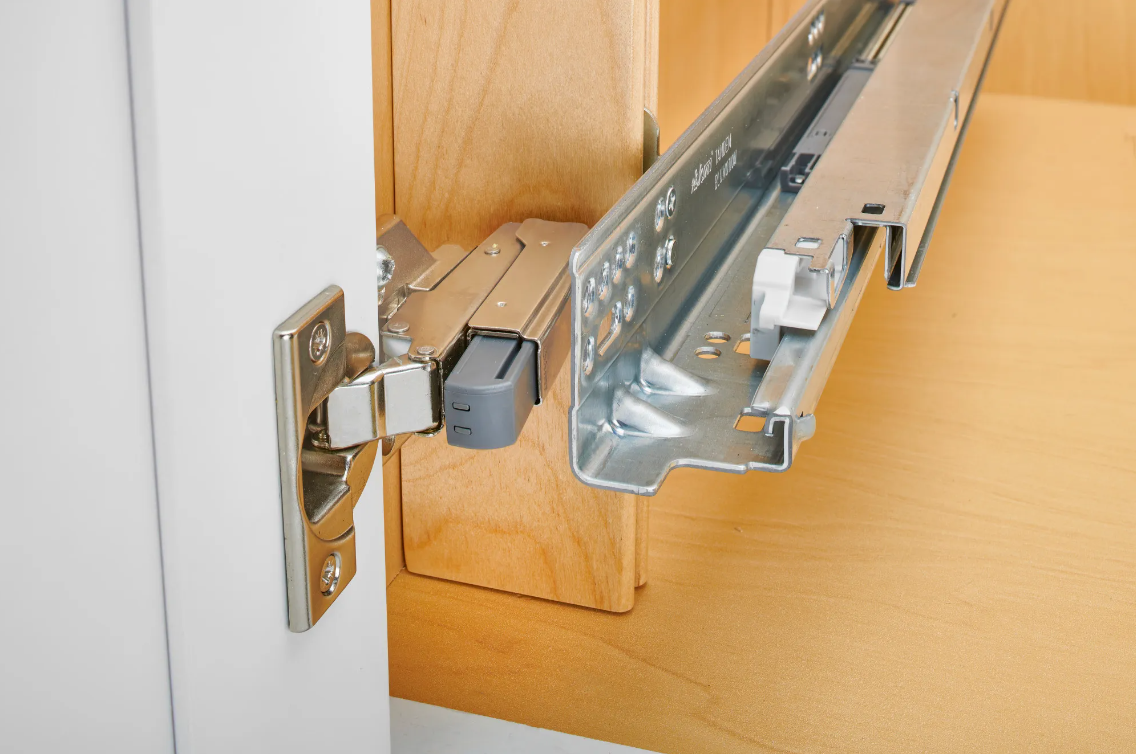
Slides shown positioned inside the cabinet.
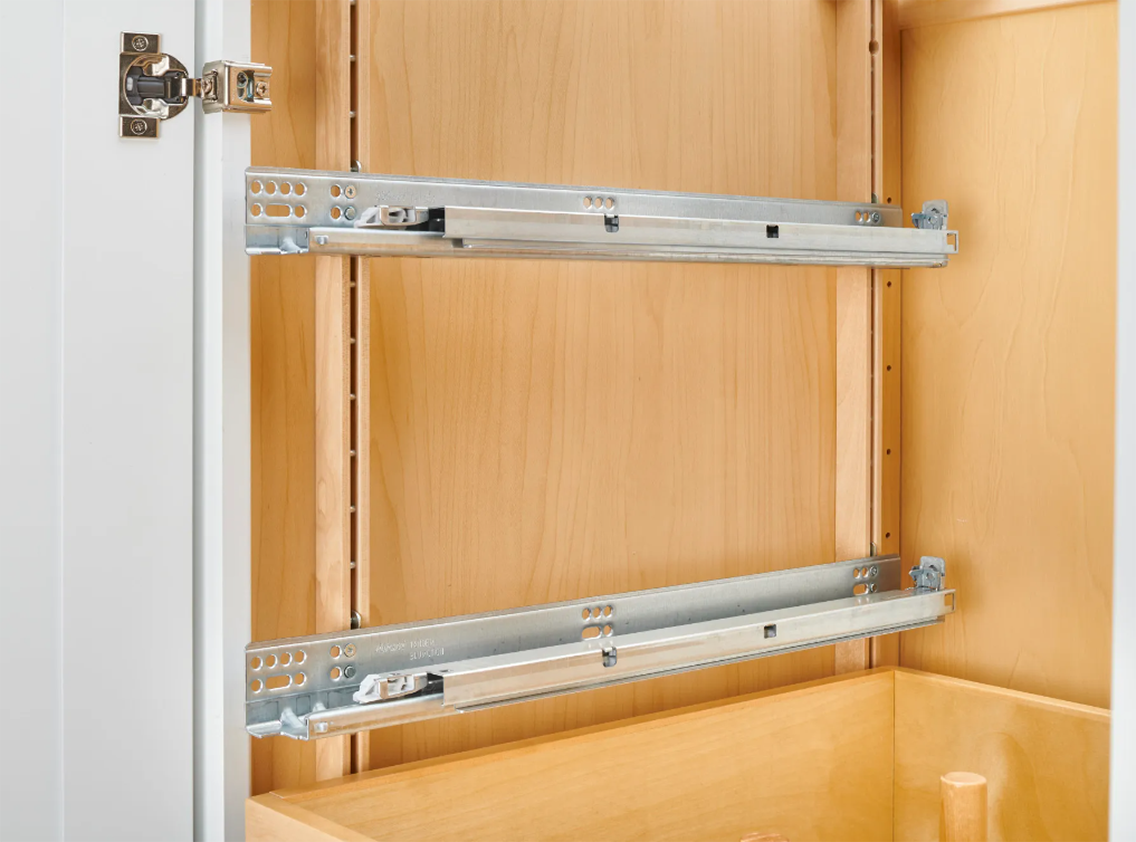
Step 7 – Attach drawer boxes to the slides.
